| 1 |
** To delete unnecessary parts, just drag and drop to
the bottom-right corner. |
| 2 |
** How can I save the image of my dream guitar?
For Ver.9 system, there is the Generate Image button on the screen.
Any system older than Ver.9 don't have this feature.
So, you must capture the screen image and paste it into your graphic software
to "archive" your creations.
|
| 3 |
** example to make "dark-red"
(1) set Lower Layer color to red

|
(2) set Upper Layer color to black
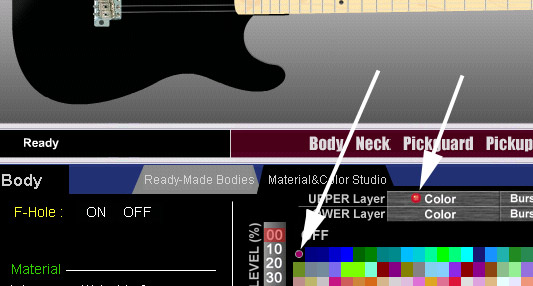
|
(3) set Upper Layer See-Through Level to 50%
 |
|
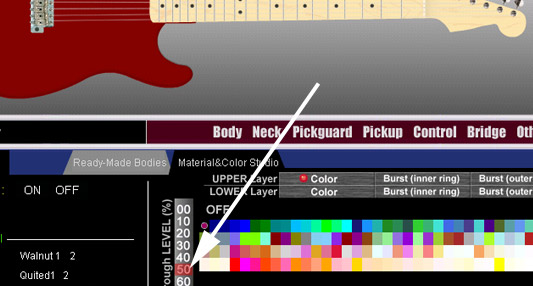
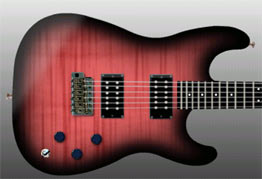
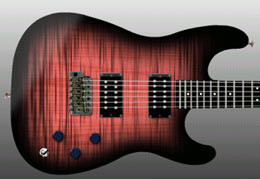
| 4 |
** example to make 3-tone sunburst
(1) Lower Layer Color=Orange, See-Through=30%
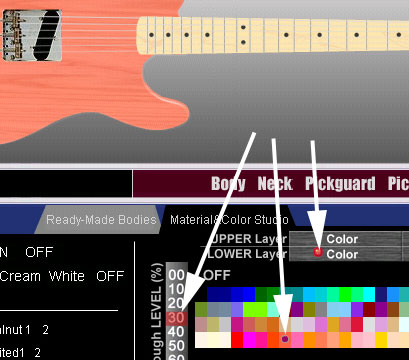
|
(2)
Lower Layer Inner burst=Red, See-Through=30%

|
(3)
Lower Layer Outer burst=Black, See-Through=0%
 |
Å@
|
| 5 |
** When you ask a guitar builder to actually make your dream guitar,
you should know that the color on your computer
and his computer is not the same.
So be careful when you send an image via email.
The safest way is to print the image and mail it to him.
(However, I noticed a good guitar builder does not always have
good eyes for colors) |
6
|
*** deleted *** |
| 7 |
*** deleted ***
|
8
|
*** deleted ***
|
| 9 |
You can specify any JPG, GIF, PNG images
to be used as a DIY (Do It Yourself) material.
(you can't use an image on your local hard drive)
example :
(1) the image below is one of my old pencil drawing.
(BTW, it's a fox, not a wolf nor a dog. okay?)

(2) Click "BODY" and "D.I.Y" tab.
Specify this URL http://www.nymphusa.com/arrow/fox6.jpg
in the text box and click the LOAD button. Here is the result.
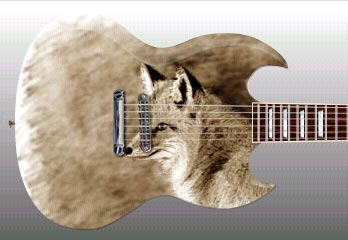
(3) To position the image, I entered X = -90 and Y = -30 then click LOAD

(4) Since the image is treated as a material, you can apply colors
just like other regular materials.
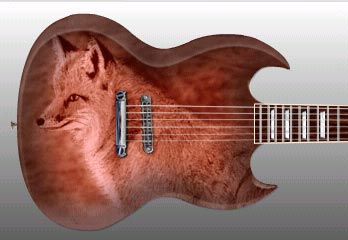
here are some more...
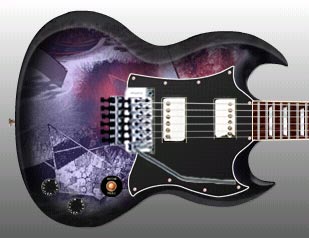
this image
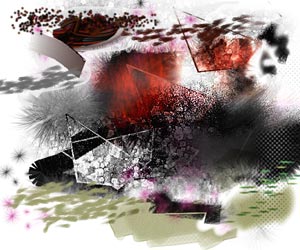 |
....can make this
 |
this tele-girl
|
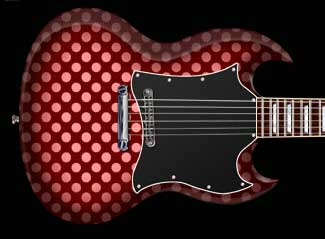
for this SG.
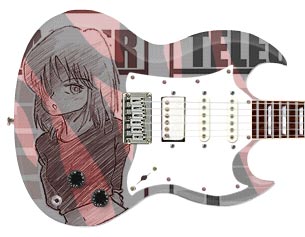 |
 |
 |
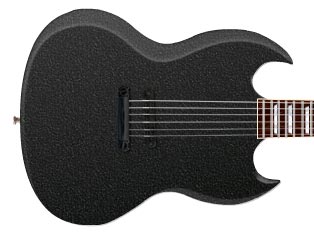
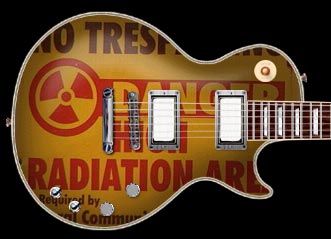
Gothic Black ?
 |
 |
Do I need to make KISEKAE FlyingV for this?
|
 |
|
|
Gahhhhhh!! this is ENDLESS! Someone please stop me!

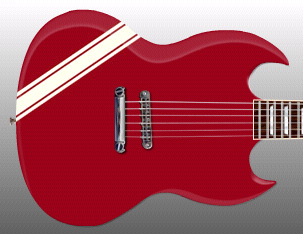
For those who can't afford the PRS guitar;
You can create your own PRS for just $200
if you carefully follow these steps.
Here is how.
(step 1) Buy a cheap Telecaster
(step 2) Paint its body like this
(step 3) Make sure you wear black clothing when you play
(step 4) Be sure to turn the stage lights down
Then Rock OUT!
Nobody will notice that you have a Tele!!
|
| 10. |
KISEKAE JEM examples
Tele-JEM
Well, this site is called "The Complete Telecaster", so I have to
start with this.

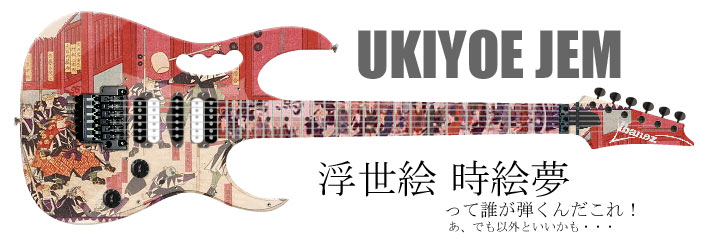
Notice the clear pickguard. Not just selecting "clear" from the
pickguard choices,
I put subtle white on it.
(No, it's still JEM. Not Universe)
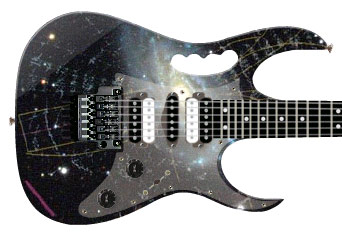
Another JPG-as-material examples.

... and as requested, the "burned" finish. (originally introduced by Fender
Japan as "Charcoal Burst")

Finally, I've made a Kisekae
Materials page.
Your contribution is welcome. (copyright-free images only)
|
| 11. |
D.I.Y Pickup
(Version 6.50 and up to version 8)
Unfortunately, Flash is not good at precise positioning
for most objects. I couldn't align polepices at the
exact center for all versions of FLASH clients.
So, use the "Offset" to adjust the location of the
JPEG images.
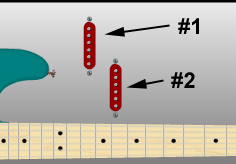
The pickup #1 is how it looks on one of my computer as default.
It doesn't look right so I entered X=-0.5 to get
the image #2.
Of course you can use other images to make your
original pickups like this example.
|
| 12. |
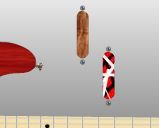
Stain
(Version 8)
By using "Stain" patint pattern(s), you can enhance its grain in any
color.
Now in addition to this;
you can also make this;
|